Winterizing is a must-do to keep your camper in great condition for future family adventures. Deep cleaning your RV is part of that process. In this week’s posts, we’re covering the important steps you need to take when prepping your RV for storage.
In the previous post, we walked you through winterizing your RV’s water system. Now, it’s time to deep clean your RV’s interior. Thoroughly cleaning your RV’s interior will help prevent mold growth, unpleasant smells, and pests from wreaking havoc in your vehicle during the winter months.
Pro Tip: Check your RV owner’s manual for a list of recommended cleaning products.
Before you get started, gather all your supplies:
- Cleaning gloves
- Paper towels
- Microfiber cleaning cloths
- Garbage bags
- Window cleaner
- Multi-surface cleaner (ie. disinfecting wipes)
- Bathroom cleaner
- A basket or tote to collect any forgotten belongings
- Vacuum and/or broom with dust pan

How to Deep Clean Your RV
Clean from Ceiling to Floor
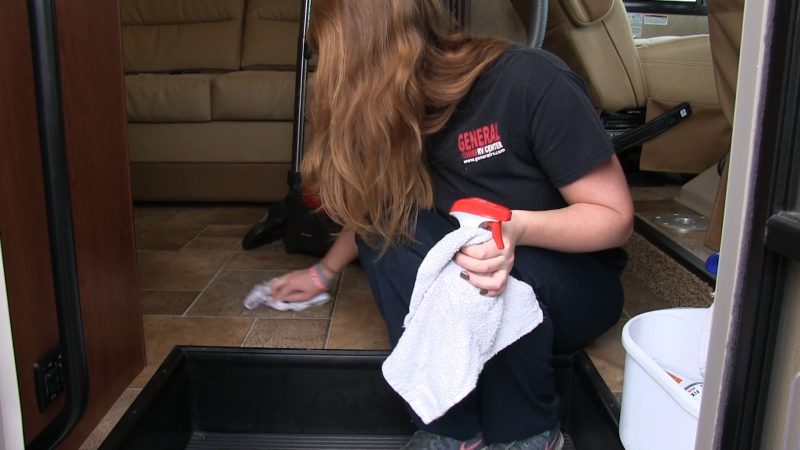
Just like cleaning your house, you’ll want to start at the top and work your way down. Use a dry microfiber cloth to dust and wipe down all the surfaces in your RV. Use a vacuum and soft brush attachment to dust window blinds and curtains.
Now, grab your glass cleaner. Interior windows and mirrors can be cleaned with Windex or a similar product to remove fingerprints and smudges.
If you find any soiled spots or stains on the upholstery, refer to your owner’s manual for recommended cleaning instructions. Fabrics like suede or leather will likely need to be professionally cleaned. For vinyl-covered furniture, water-based products should be used instead of solvents. Always spot test the cleaner in an inconspicuous area before using it! Remember to blot rather than rub any stains to avoid spreading them.
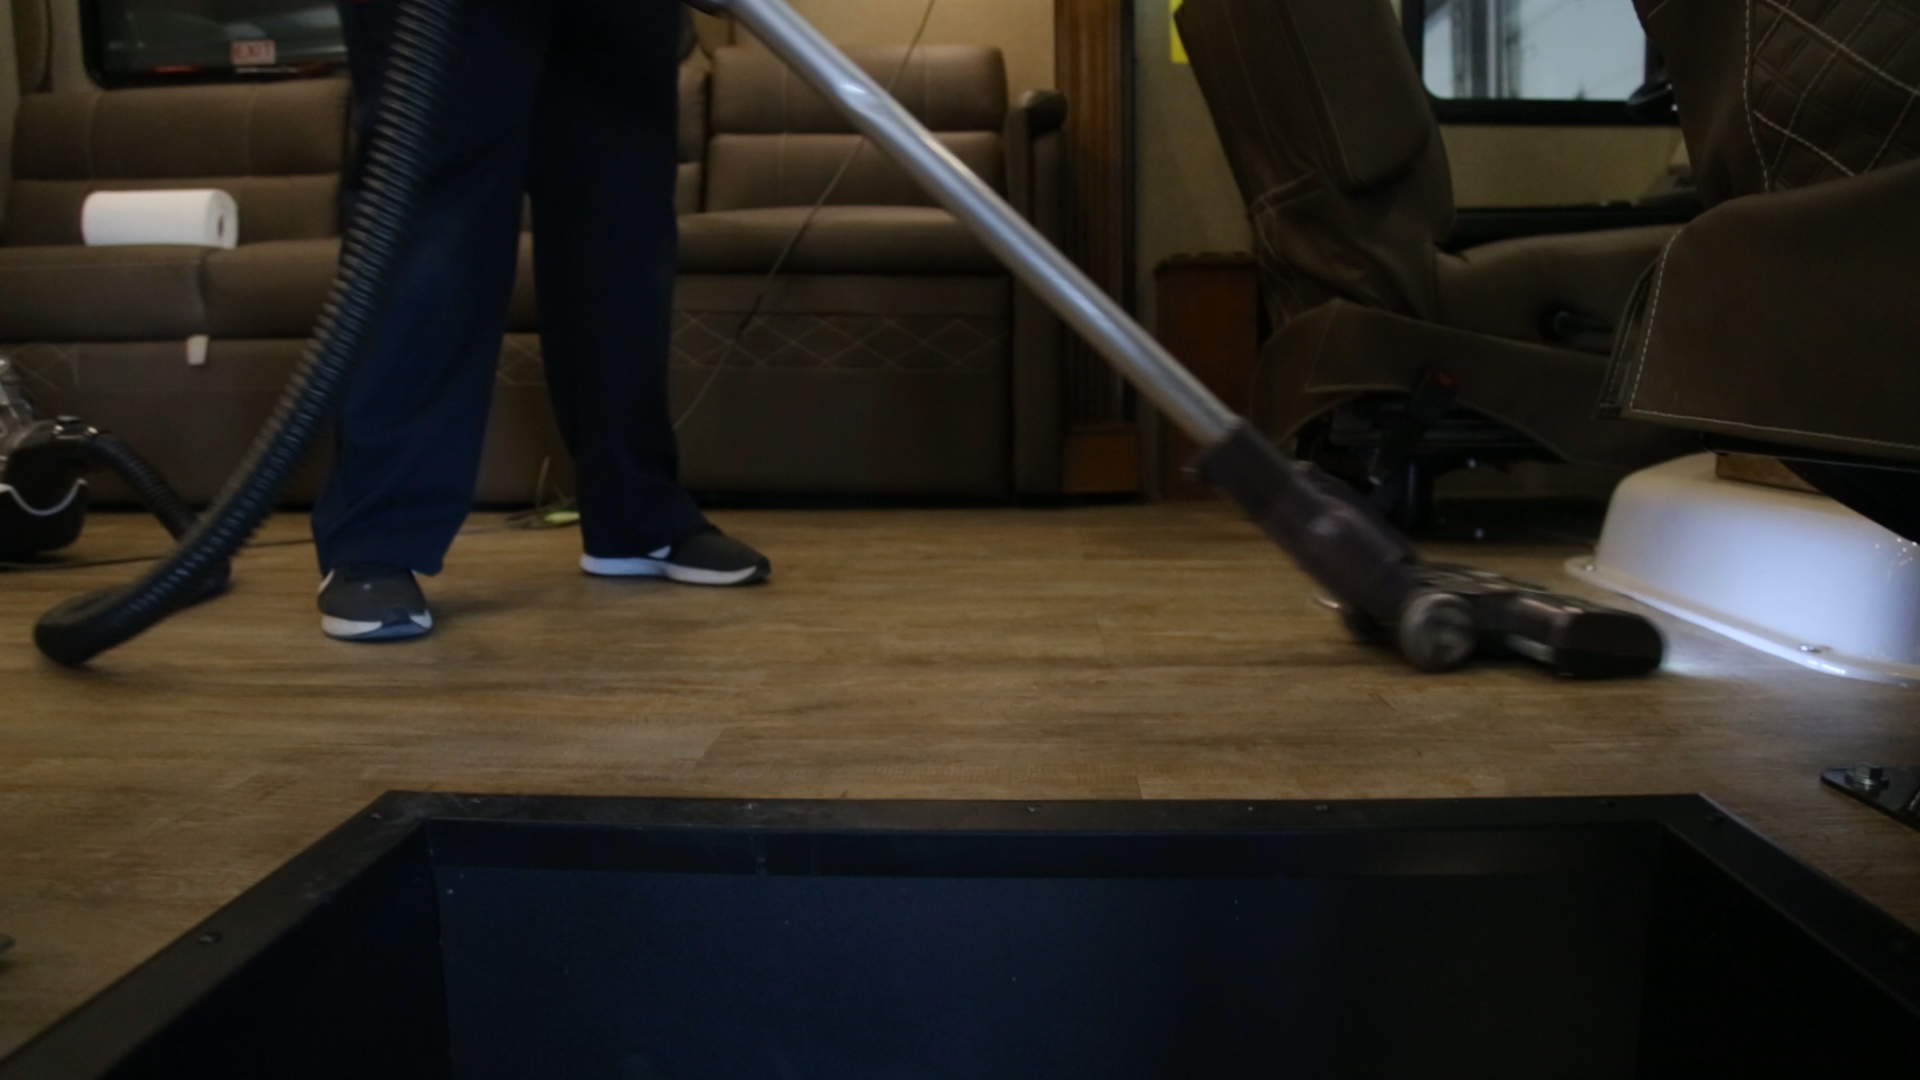
Lastly, sweep any hard floors to remove remaining dirt / debris and vacuum all the carpets in your RV.

Disinfect Kitchens and Bathrooms
The next step on your deep cleaning RV checklist is the kitchen. Wipe down all the counter tops, sinks, tables, and fixtures with disinfecting wipes. Clean the inside of the microwave and refrigerator with these wipes, too, and make sure they’re completely empty. Check every cabinet and the pantry to make sure all food items have been removed. Prop open fridge and freezer doors with a device like the Adjust-a-Brush. The ventilation it provides prevents mold and odors from forming.
After the kitchen, it’s time to clean the bathroom. Use mild dish soap and a damp cloth to clean fixtures. If you’ve got hard water spots, a bit of vinegar mixed with warm water should dissolve the deposits. Clean the RV’s shower or tub with disinfecting wipes. Remember to dry everything thoroughly as you go. You don’t want to let water into the drains if you’ve already winterized your plumbing. As a final optional step, you can use a tank deodorant to control smells in the holding tanks.
Other Items to Check
While cleaning your RV, check for any maintenance issues that need to be addressed. A discolored ceiling spot can indicate a tear or leak in the roof. Check for failing seals around doors and windows, too. A little maintenance now can help prevent a costly repair in the future.
Close all vents and fix any holes to prevent birds and other animals from making your RV their winter home. You can easily install insect screens for your RV appliances. In addition, you may want to use mothballs, dryer sheets, and another rodent repellent to prevent critters from entering the RV. Fresh Cab botanical rodent repellant is non-toxic and available at most RV parts stores.
Finally, leave a dehumidifying agent like Starbrite No Damp in the RV to pull excess moisture from the air before you close up.
Now that you’ve cleaned your RV interior and prepped the water system, you’re nearly done winterizing. The conclusion of our series will cover the exterior items to tend to before putting your RV away for the winter. Stay tuned for part three!