In this post, we’ll show you how to install RV insect screens over refrigerator, furnace, and water heater vents. You can also check out our How-To video on our YouTube channel.
We all enjoy the great outdoors, but there are some parts of it that we would rather keep outside. Mosquitos, wasps, and other pests are unwelcome guests in any RV. Besides being a nuisance, some can build nests in vents that interfere with airflow, causing serious damage to appliances. You can easily install RV insect screens to prevent bugs from crashing your next camping trip.
Before you head to the parts store, look at the shape of your RV’s vents and measure the size of each. Camco makes multiple sizes and styles of insect screens, but if you know your vent dimensions it should be easy to find the correct parts for your RV. When in doubt, consult your owner’s manual for more information.

How to install RV insect screens for refrigerator vents
The refrigerator vent insect screen kit includes a set of long, flat screens and plastic zip ties for securing the screens to the vent cover.
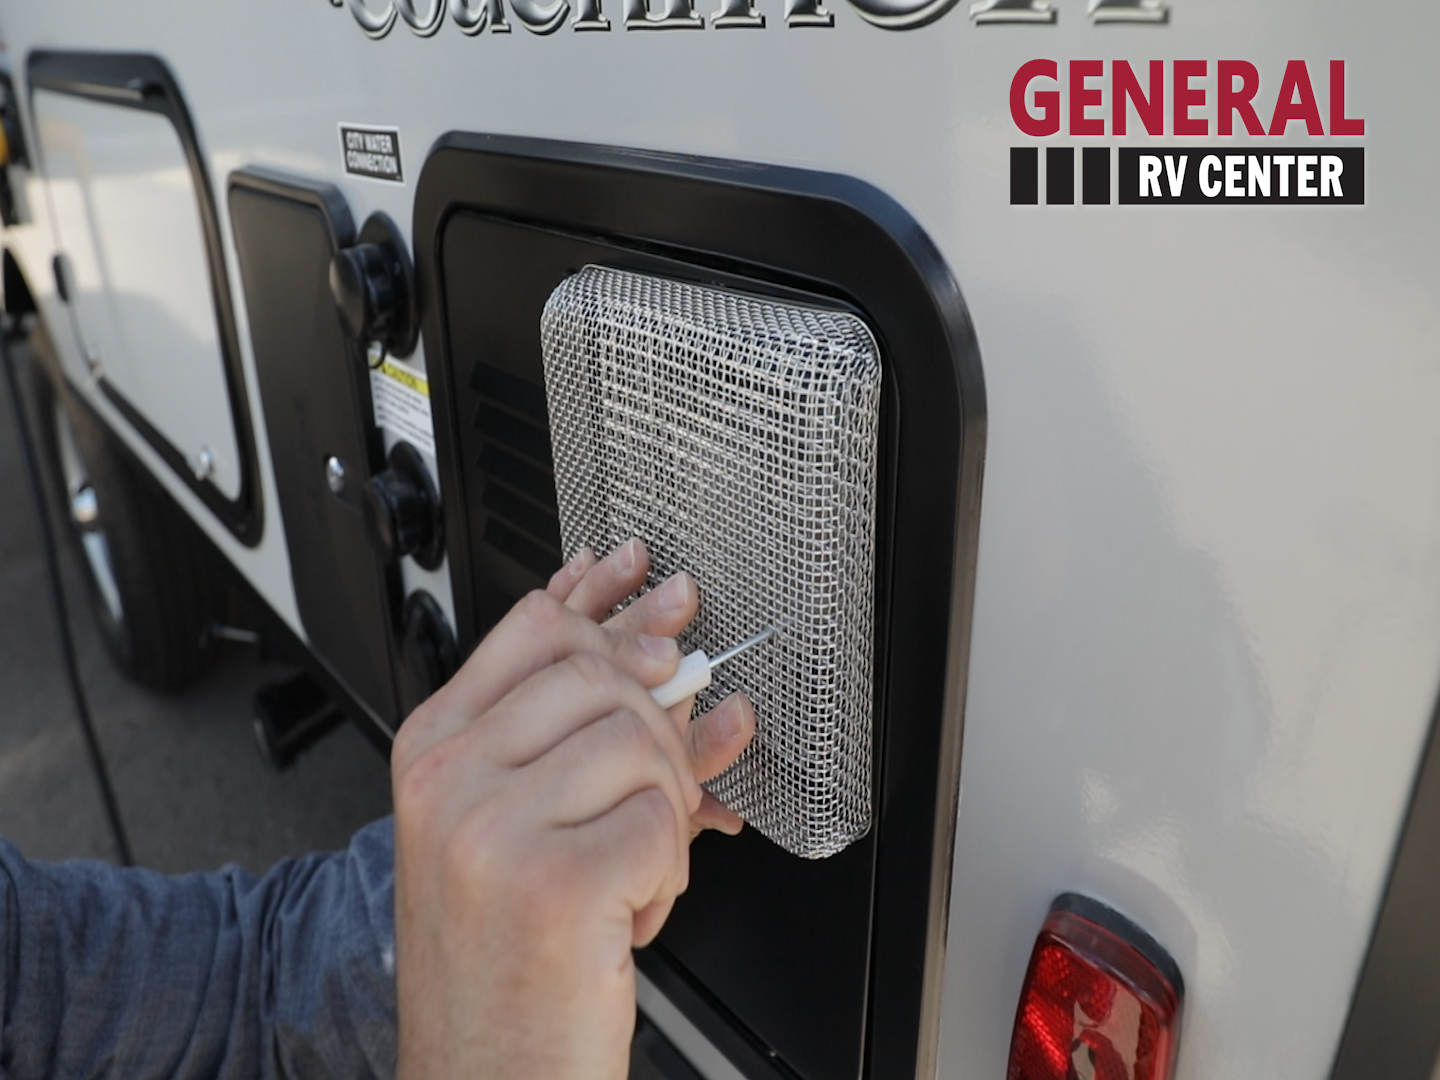
To begin, you will need to remove the refrigerator vent cover. Once the cover is removed, place a screen over the first vent opening from the outside. Using two of the zip ties that are provided, secure each end the screen to the cover from the inside. Make sure the zip ties are tight enough to hold the screen closely and check for any gaps (if there are gaps, tighten the zip ties). Repeat this process until all screens have been installed. Trim the excess length off the zip ties. Reattach the vent cover and you’re done.
How to install RV insect screens for furnace vents
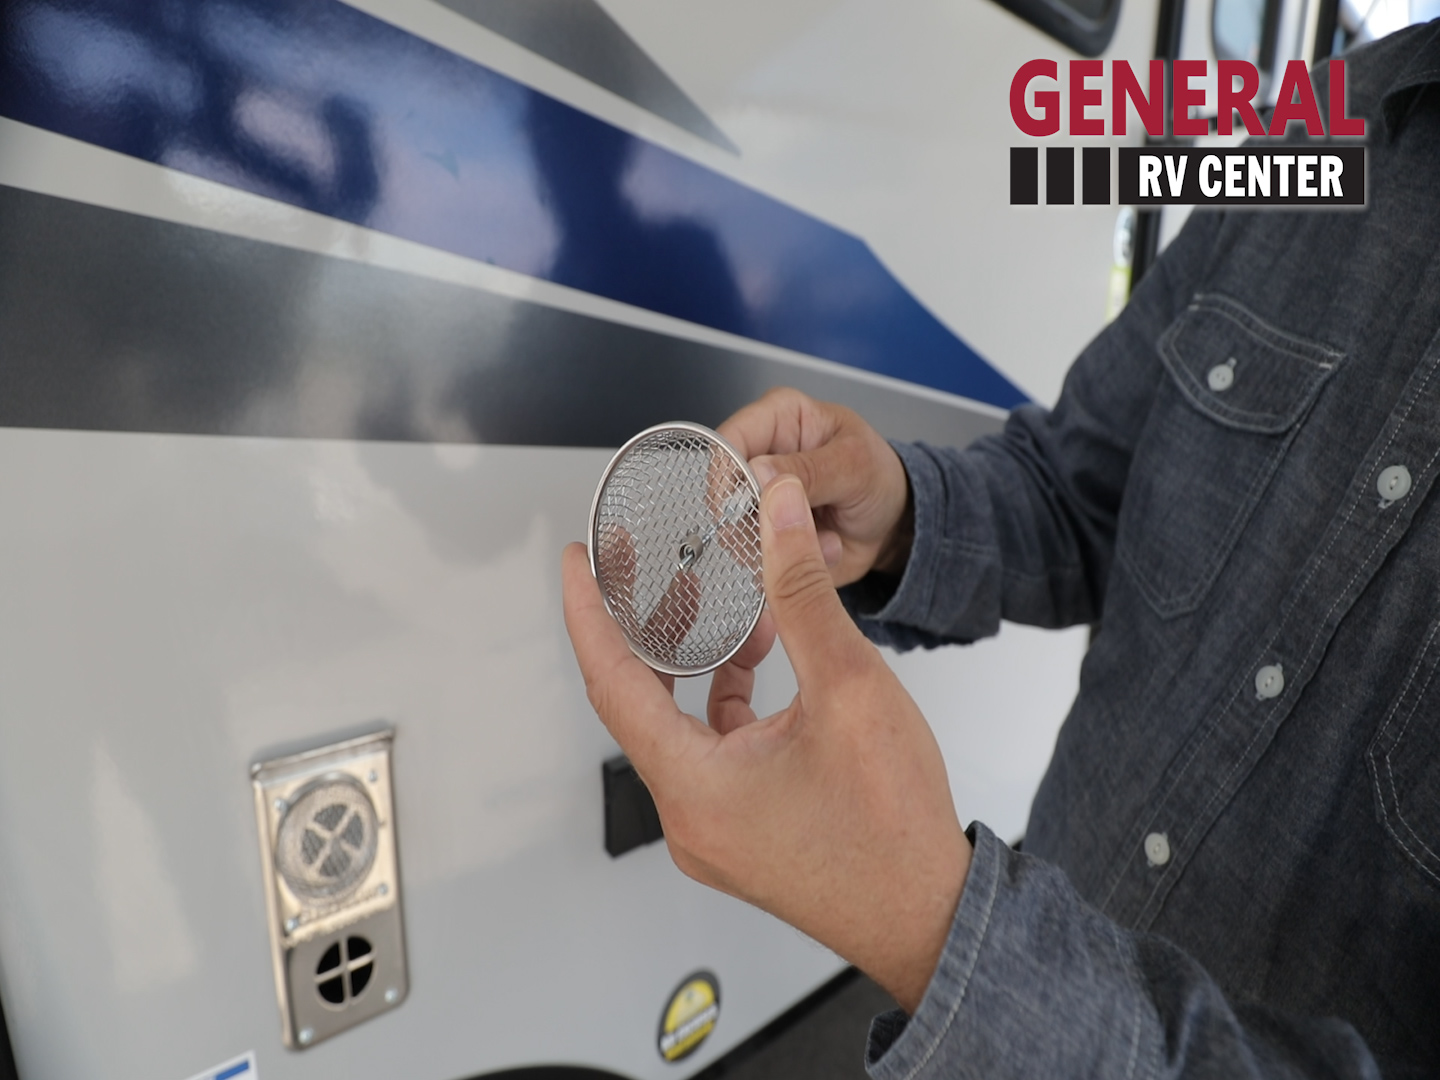
The furnace vent insect screen kit includes the screen, springs, and installation tool. Each spring has a hook on one end and a crossbar on the other; the hook end will be attached to the screen, the crossbar end will attach to the vent itself.
First, secure the spring to the center of the screen by hand. Make sure the hook grabs the screen securely and doesn’t detach once you let go. Position the screen over the vent cover. Use the provided tool to thread the other end through the center of the vent cover. You’ll need to go through the screen and the spring to do this. The spring will grab the vent cover from inside and hold the screen in place. Check if the screen is secure by giving it a gentle tug. Re-position if it’s not secure. Repeat if your RV has additional furnace vents.

How to install RV insect screens for water heater vents
The water heater vent screen kit includes the screen, spring, and installation tool. Just like the furnace vent kit, you’ll be using the spring’s hook end to secure it to the screen and the other end to affix to the vent.
Start by attaching the spring to the screen. Once the spring is hooked on, position the screen over the vent cover. Thread the other spring end through the vent cover using the provided tool. Make sure the spring grabs hold of the vent crossbars. Then check that the screen protects the entire vent opening. Repeat as needed for additional vents.
Congratulations! You’ve now installed RV insect screens and protected your rig from pesky flying insects.
Maintenance
RV insect screens are easy to maintain; simply check them for damage before and after each trip. You should also clean all vents and covers regularly to remove any dust or small debris buildup. These small maintenance tasks will help make sure your appliances run well for years to come.
Want to see more? Check out our How-To video series to watch insect screens being installed on an RV and other helpful tips.
