Winterizing your RV – whether it’s for a travel trailer, fifth wheel or motorhome – can be a chore. But it’s necessary for prolonging the life of your camper and protecting your investment. In this post, we’ll cover how to winterize the plumbing in your RV.
Pro Tip: Read your owner’s manual before you get started for model-specific RV winterizing instructions. Some newer models have built-in winterizing controls, so not all steps may apply to your RV.
Winterizing your RV’s water system means removing as much liquid as possible from the pipes and adding RV anti-freeze to prevent any remaining water from freezing. It’s very important to take time to winterize the water system properly because any water remaining in the pipes can freeze and cause damage if the temperature falls below freezing.
Table of contents
How to Winterize Your RV’s Plumbing
Drain Your RV’s Water System
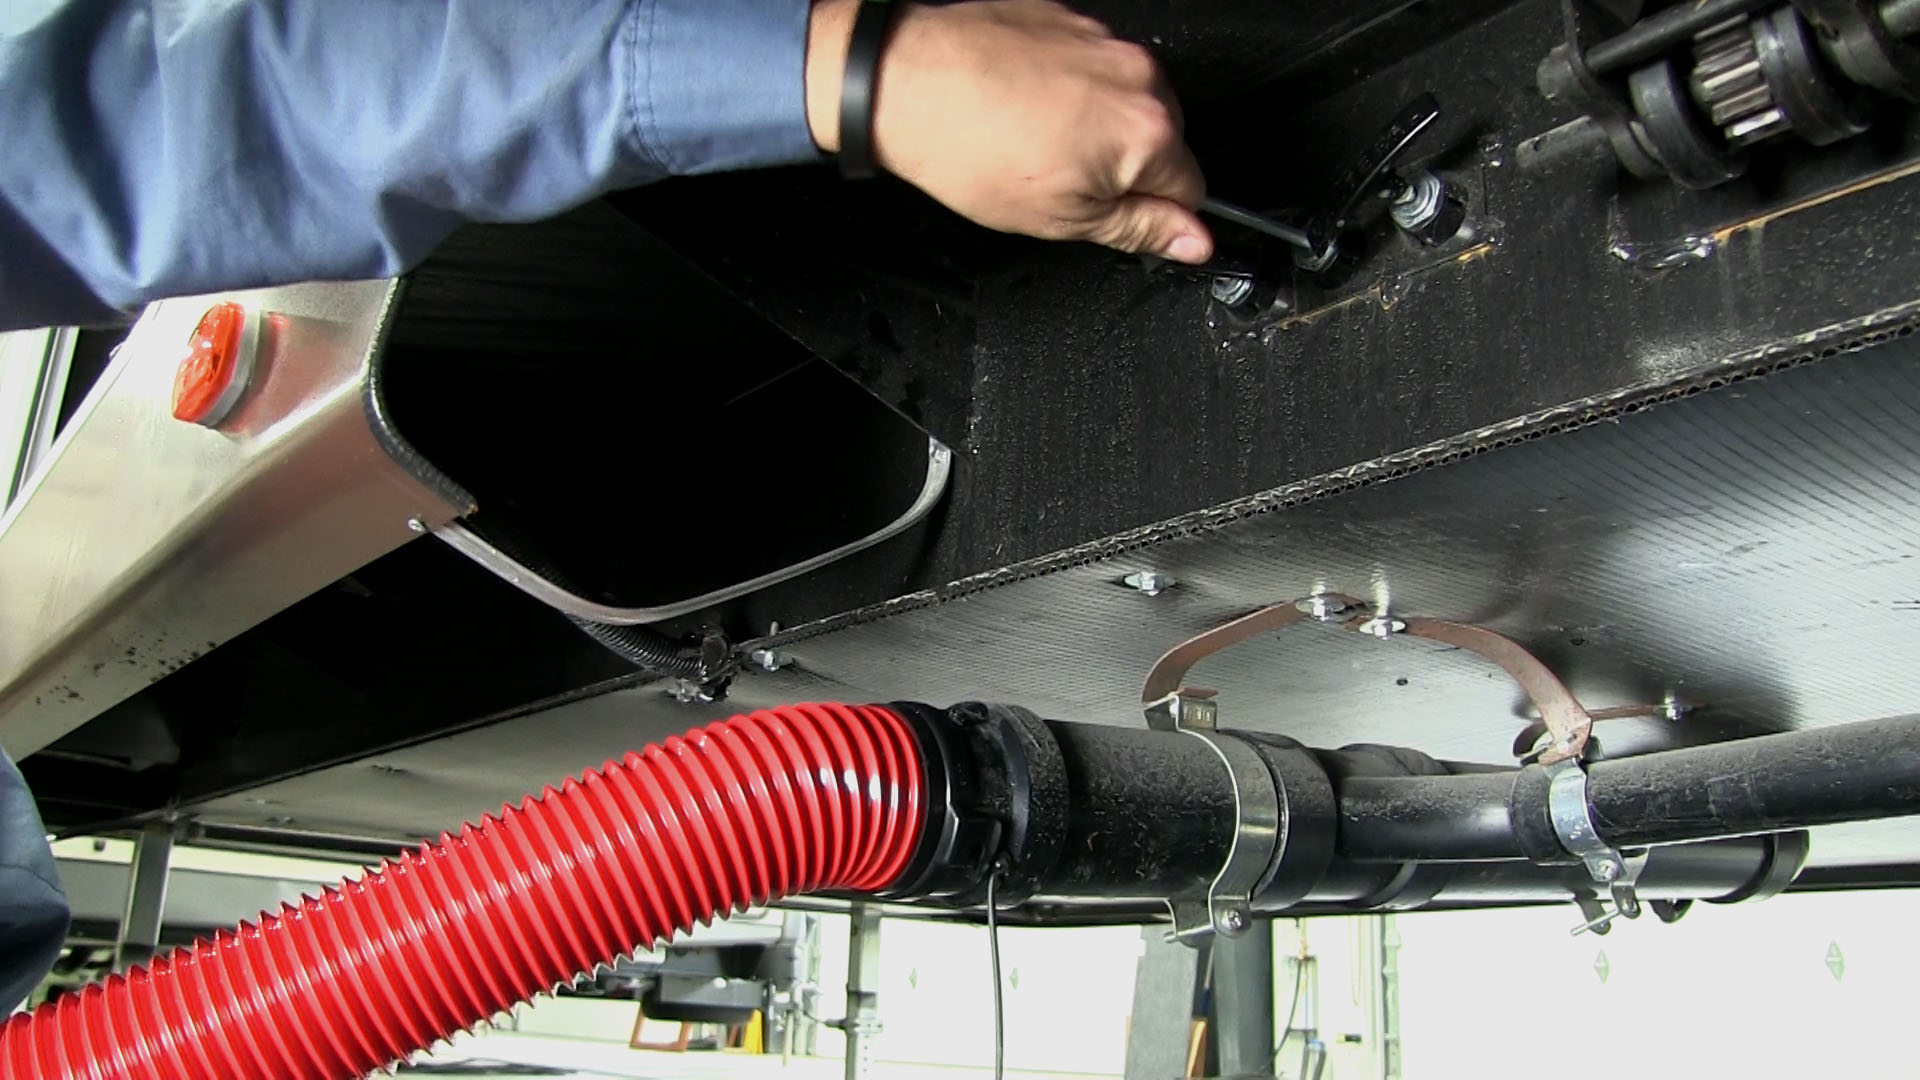
To begin, drain and flush the black and gray water tanks at a dump station. Clean the black water tank with a wand attachment at the end of a hose.
Next, drain the fresh water tank. This will remove water that could potentially cause your pipes to freeze and burst, and it saves you from getting sprayed when you open the drains or unscrew the plug on your water heater. Drain all water from the system at the low point drains. Refer to your owner’s manual if you need help locating the low point drains.
Now, make sure the water heater tank has had time to cool before you attempt to drain it. With no water connected to the RV and the 12-Volt water pump in the “off” position, open a hot water faucet to relieve any pressure in the lines. Make sure the RV is not plugged into 110 volts and turn off the 110 volt electric switch to the water heater, if so equipped. Drain your water heater tank, and leave the drain plug open.
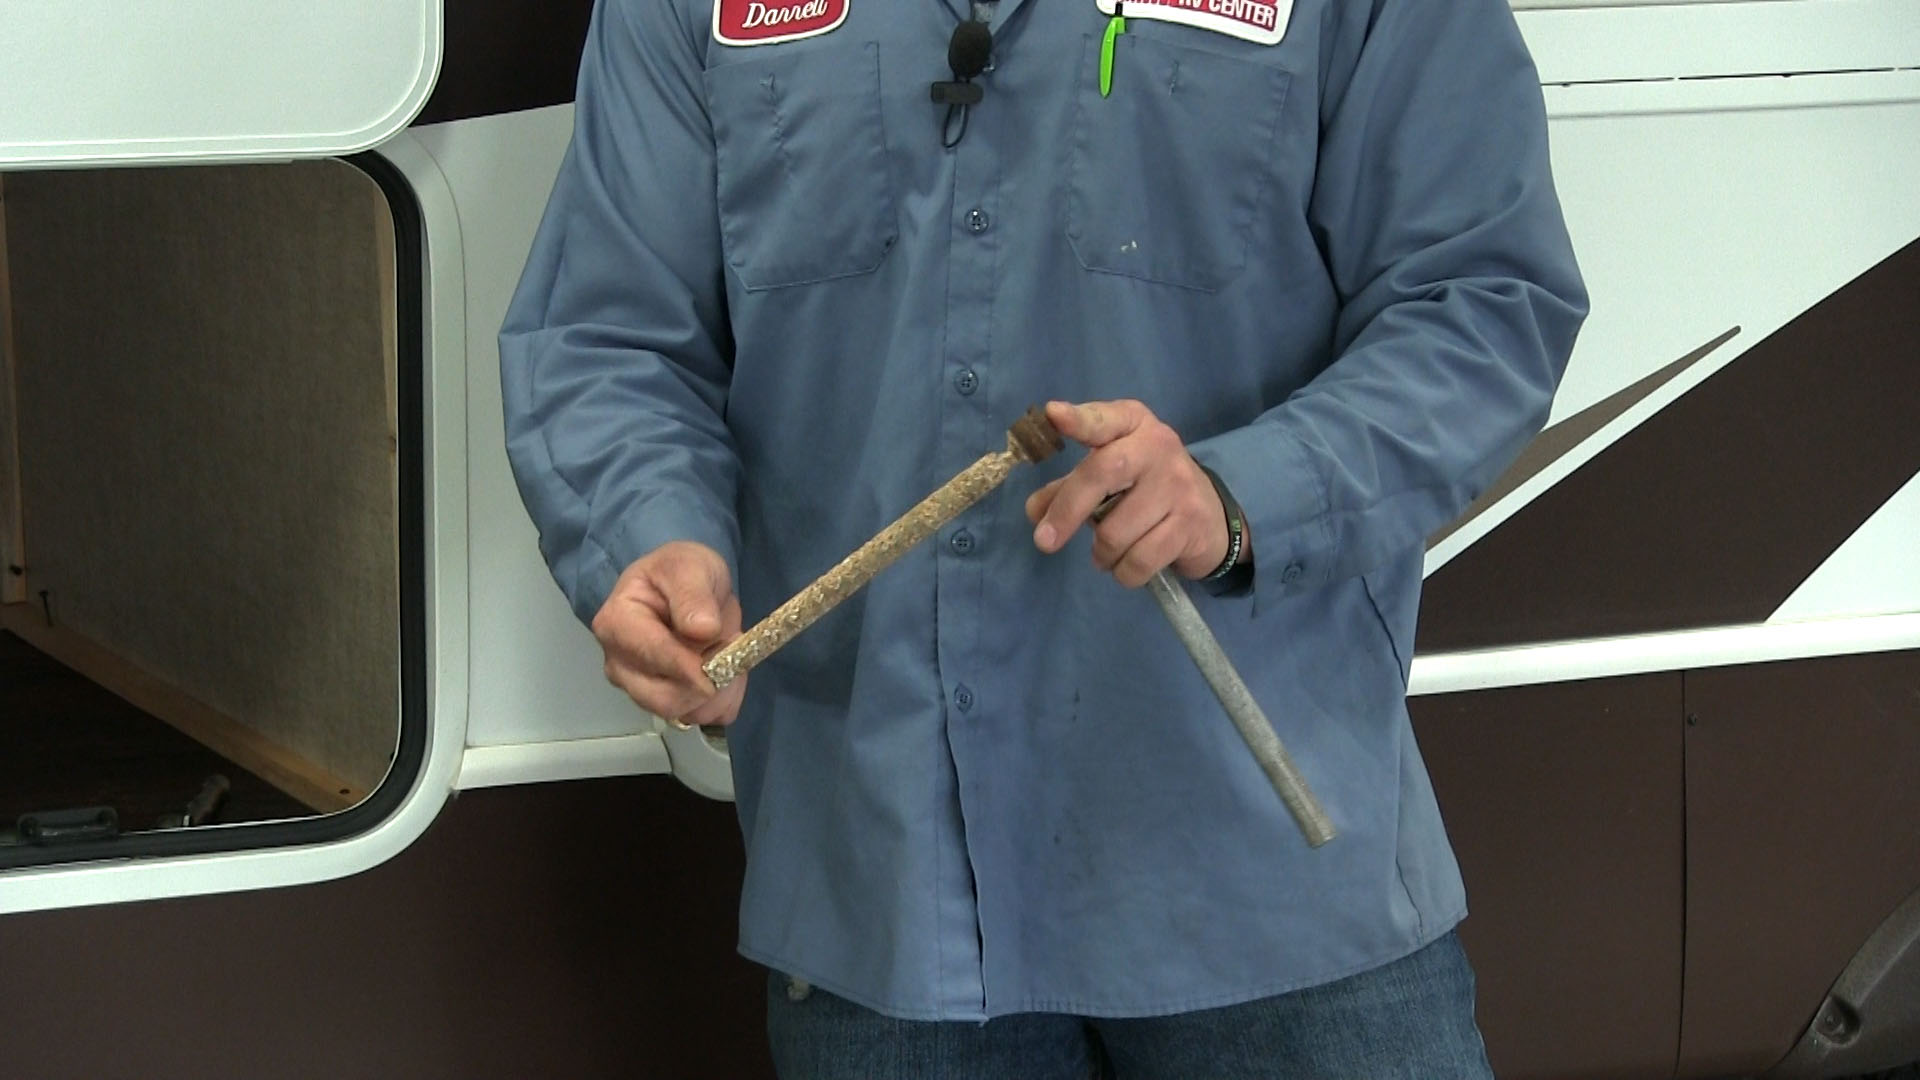
This is a good time to clean the inside of the tank with a wand attachment at the end of a hose. While you’re at it, check the anode rod to make sure it’s in good condition. Replace if corroded.
Open every hot and cold water faucet and flush the toilet to help get remaining water out of the system. If your RV has an exterior sink or hose, be sure to drain that, too. Some people opt to blow compressed air into their pipes after completing the steps above to help remove more water. However, blowing compressed air into the lines may cause them to become loose, split or burst. Be cautious and never use more than 40 psi when blowing out the lines. You can also use your RV’s water pump to help remove water from the system, but make sure to turn the pump off as soon as the lines are drained; otherwise, you’ll risk damaging the pump.
Recap the drains and close the faucets when complete.
Connect Anti-freeze to Your RV’s Water System
Now, it’s time for the second part of winterizing your RV’s water system: Adding RV anti-freeze. Always be sure to use RV-specific anti-freeze, and never use automotive anti-freeze in your RV’s water system.
If you have a water filter, remove it and install a filter bypass kit. This will prevent the anti-freeze from ruining the filter. You’ll also want to bypass the water heater so you don’t waste gallons of anti-freeze (the anti-freeze will fill the water heater tank before it goes through your lines). If your RV doesn’t have a water heater bypass kit, you can purchase one from your local parts store.
There are a few different ways to add anti-freeze:
- Option one: Find the water pump and disconnect the suction side of the pump. Install a hose with fitting onto the pump, and insert the other end of the hose into a jug of RV anti-freeze.
- Option two: Install a T-bypass valve in the water line between the fresh water tank and the pump. Run a hose from this valve into your jug of RV anti-freeze. This accomplishes the same as the first method, but without having to adjust the water pump.
- Option three: Use an anti-freeze hand pump kit to do the same task. Drop the pump into your jug of RV anti-freeze and connect its hose into the city water inlet of your RV.
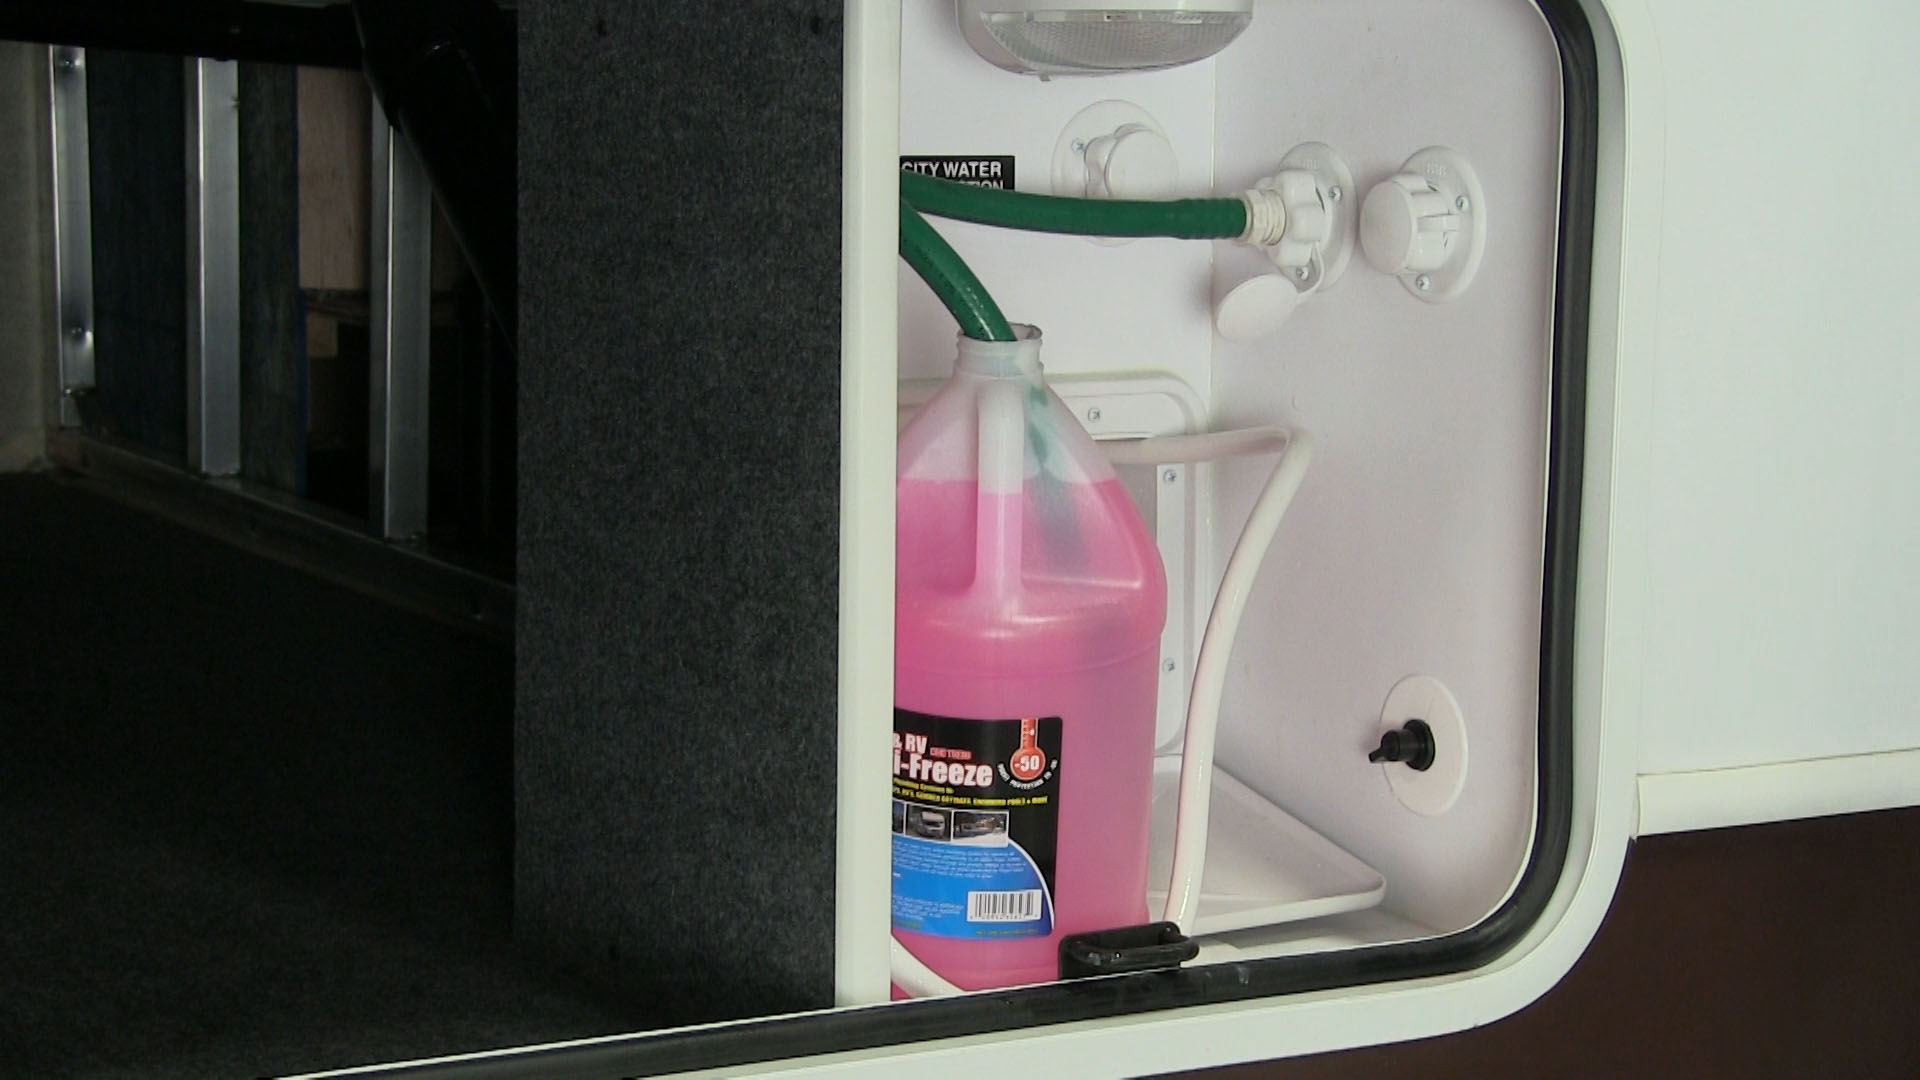
Once you’ve chosen a method and connected the anti-freeze, turn on the pump and run the anti-freeze through the lines to winterize your RV’s plumbing. We recommend starting with the highest points (shower heads) and working your way down. Start with the shower closest to the pump, and turn on the hot and cold faucets until the bright pink anti-freeze flows through the line.
Repeat this process for sinks, hoses and toilets. Flush the toilet until anti-freeze runs through the bowl. Don’t forget to do any exterior hoses and sinks. Depending on your RV’s water system, this may take 2-3 gallons of anti-freeze. Switch out the jugs as needed.
Add Anti-freeze to Drains, Seals and Water Heater
After pumping water through the system, pour a small cup (about 4 ounces) of anti-freeze down each drain. Pour a few ounces of anti-freeze in the toilet and flush it into the holding tank. This will prevent any remaining water from freezing.
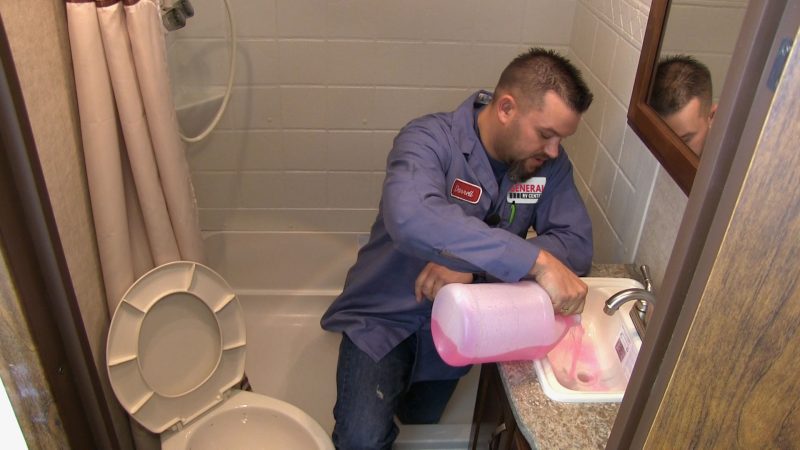
If you have an on-demand water heater, refer to the owners’ operation manual for specific directions on winterization procedures. Then, add RV anti-freeze to the water heater. Turn the bypass valve back to the normal position or reconnect the lines on the back of the water heater. Pump about a half-gallon of anti-freeze into the water heater. If your water heater has an electric heating element, make sure it is turned to the “off” position. This will protect the element if the RV is plugged in while in storage.
Add about an ounce of RV anti-freeze into the city water inlet to protect the check valve. Add a few ounces of RV anti-freeze to the black and gray tanks to winterize their check valves.
Last Steps
Check your owner’s manual for specific winterizing instructions for icemakers and washing machines, if applicable to your RV.
Finally, wipe down all sinks, tubs and showers thoroughly to remove any excess anti-freeze in the basins because RV anti-freeze can stain.
Whew! You have successfully winterized your RV’s plumbing! But, there’s more to do. Check out Part 2 of our RV Winterization series. In the next post, we’ll cover a list of items to clean before your RV goes into storage.
RV Parts & Accessories for Winterizing Your RV
From checking the water system to lubricating entry steps, inspecting your RV every season saves you time and money. Here’s a few RV parts and accessories available at General RV Supercenters nationwide to help get your RV ready for storage.
Best Rubber Roof Cleaner with UV Blocker
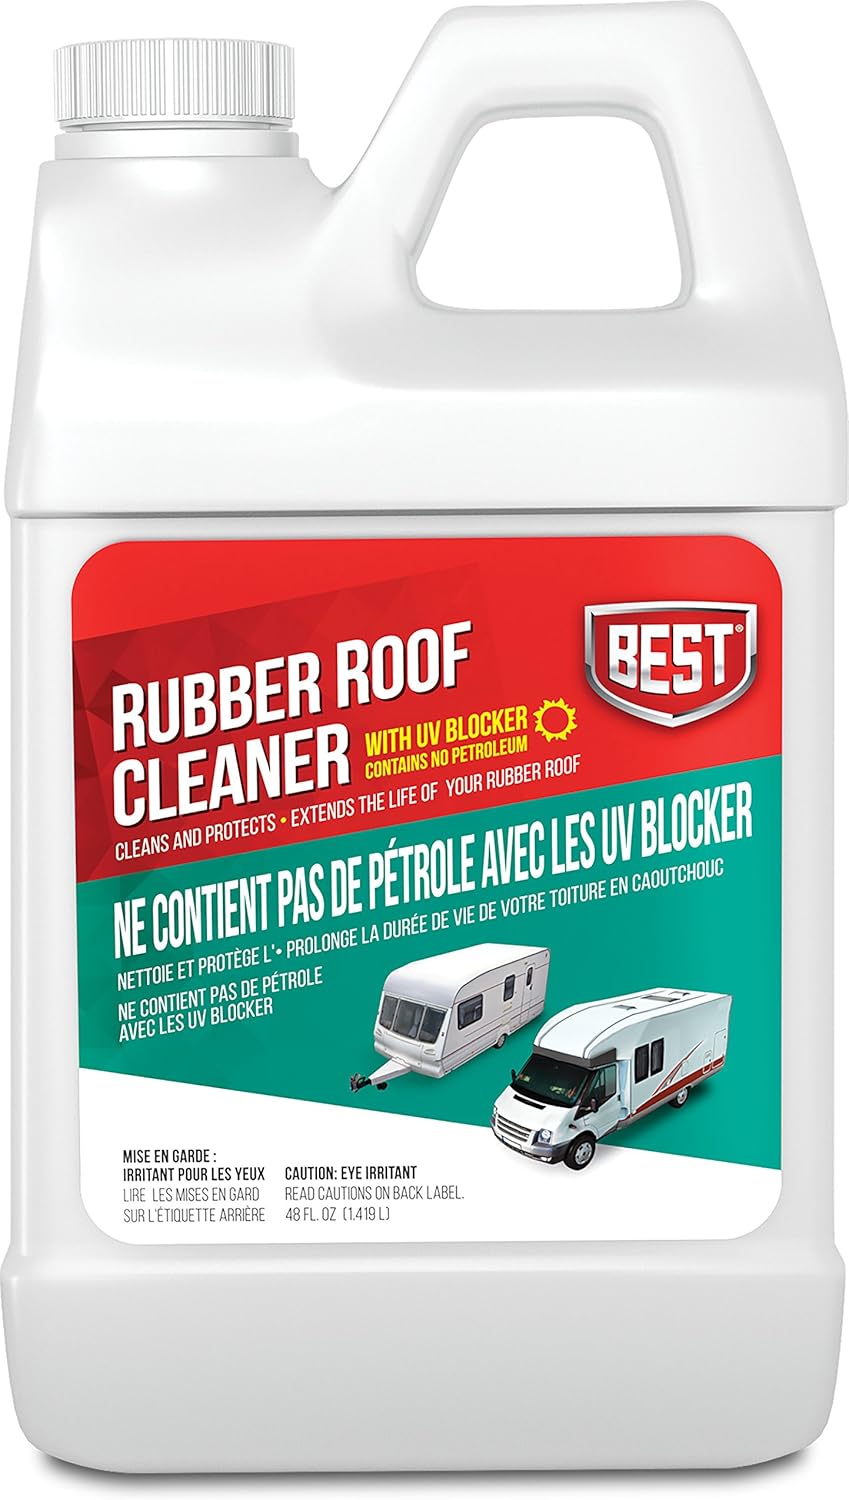
Rubber Roof Clean and Protect by B.E.S.T. extends the life of your rubber roof matting by cleaning and conditioning in one easy application. The professional strength, non-petroleum formula safely and easily removes black streaks, surface oxidation and road film buildup as it moisturizes, conditions and preserves your rubber roof.
Camco Refrigerator Insect Screens
Wasps, rodents and other pests pose a serious threat to the refrigerator on your RV. They can enter through the vents and cause serious damage by building nests that interfere with air flow. The Flying Insect RV Refrigerator Screen by Camco fits Dometic and Norcold refrigerator vents with louver openings. These easy to install screens will help ensure that your vents stay free from costly invasion by unwanted pests.
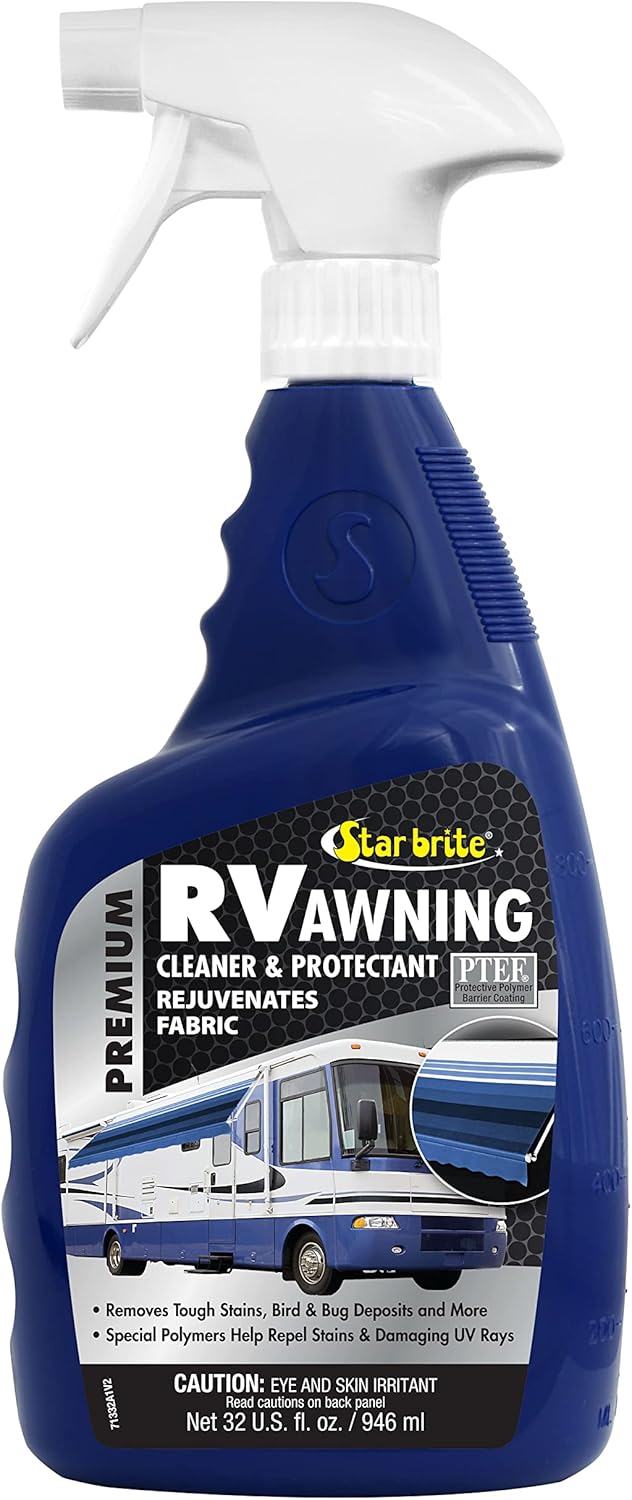
Star Brite Awning Cleaner & Protectant
Star Brite Premium RV Awning Cleaner & Protectant with PTEF is specifically formulated to loosen and remove tough stains and dirt from RV awnings and all RV fabrics. The formula utilizes a blend of high-tech cleaning agents that work quickly without the need for heavy scrubbing. The PTEF polymers create a durable barrier against staining and UV rays that can weaken and fade fabric.
Star Brite Aqua Water Tank & System Flush
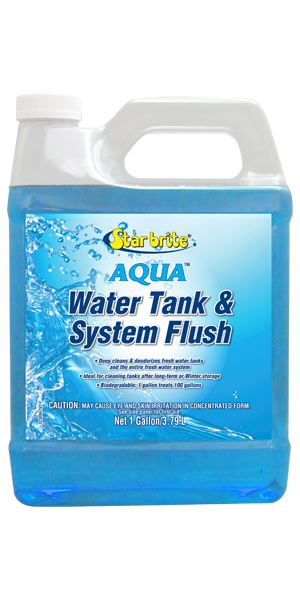
Star Brite Aqua Water Tank & System Flush cleans and deodorizes fresh water holding tanks and supply systems. Use periodically to prevent foul taste and odors. One gallon of Star Brite Aqua Water Tank & System Flush treats 100 gallons of tank capacity.
ADCO Tire Cover
The ADCO Tire Cover is a heavy-duty vinyl tire cover that protects your spare tire from damage caused by UV rays and outside weather conditions. The hollow bead welt cord with elasticized back provides a snug fit and makes it easy to install. Seams are reinforced with a nylon thread that is resistant to tearing.
Maxxair Fanmate Rain Cover
The Maxxair Fanmate Fan/Vent Cover provides exceptional rain cover for high-powered fans and non-powered vents. Its design ensures superior rain protection while maintaining less than 5% air flow restriction, keeping your RV interior dry and ventilated. Enjoy quick and easy no-tool installation with the EZClip mounting hardware. Specifically designed for high-power fans, the Maxxair Fanmate fits seamlessly over the molded, waterproof mounting tabs on MAXXFAN and MAXXFAN Plus fan models, ensuring a secure and reliable fit.
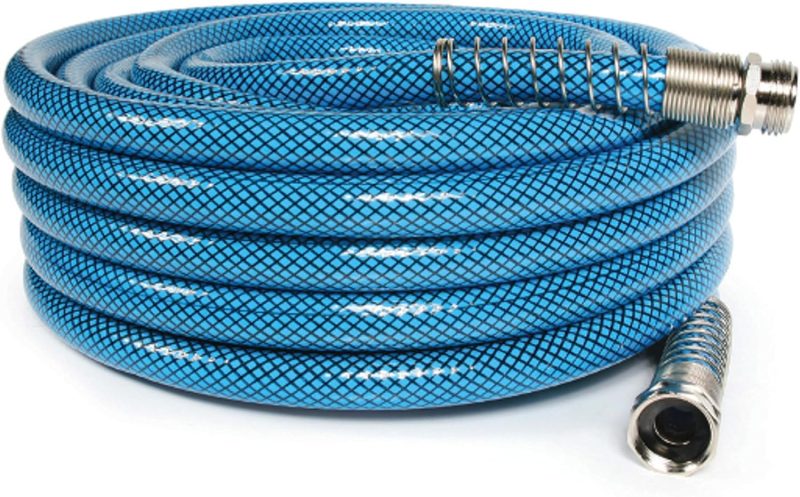
Camco Premium Drinking Water Hose 25’, 50′, 100’
Camco’s Premium Drinking Water Hoses are heavy duty reinforced hoses that are 20% thicker than standard hoses. The anti-kink design features machined fittings and strain relief ends for added durability. The hoses are lead free, BPA free, phthalate free and UV stabilized for longer life.
Cul-Mac Antifreeze
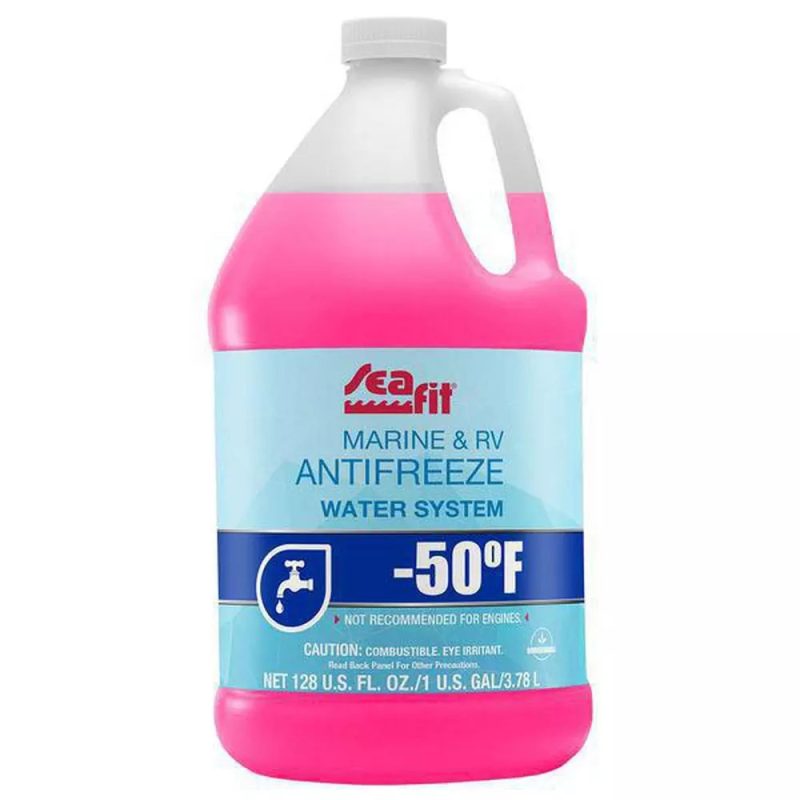
Keep your RV protected with the top-of-the-line RV and Marine Antifreeze from Cul-Mac during those cold winter months. This non-toxic environmentally friendly antifreeze is used for the protection of all plumbing fittings, pipe pumps, tanks and more from severe winter weather.
Our goal at General RV is to be your premier RV partner and your one-stop shop for all your RV needs. For your convenience, we have in-house financing options and work with an RV insurance partner. Plus, you’ll find all the RV parts and accessories you need in our Supercenters. We also have more than 600 state-of-the-art RV service bays across our nationwide network.


